Asphalt paving is a popular choice for homeowners looking to enhance their driveways, walkways, or private roads. Known for its durability and cost-effectiveness, asphalt provides a sleek, smooth surface that improves both functionality and curb appeal. However, successful paving requires proper preparation to ensure a lasting, high-quality result. In this guide, we’ll walk you through the key steps to prepare for your asphalt paving project.
1. Evaluate Your Needs and Goals
Before diving into an asphalt paving project, take some time to assess your specific needs. Are you repaving an old driveway, expanding your parking area, or creating new walkways? Understanding the purpose of the project will help you communicate effectively with your paving contractor. It’s also crucial to consider the long-term benefits you want from your asphalt, such as durability, weather resistance, or aesthetic appeal.
Take note of any unique factors, such as drainage concerns, uneven terrain, or areas where tree roots might interfere with the surface. Addressing these challenges early will help avoid complications during the project.
2. Choose the Right Contractor
Choosing a reliable and experienced asphalt paving contractor is one of the most important steps in preparing for your project. Look for contractors who specialize in residential asphalt paving and have a proven track record of successful projects. Ask for recommendations from friends or neighbors, or look up online reviews to ensure you’re partnering with a professional who values quality workmanship.
A good contractor will provide a thorough inspection of your property, offer expert recommendations, and give you a clear estimate of costs and timeframes. Always request a detailed contract that outlines the scope of work, materials, pricing, and any warranties offered.
3. Plan the Timing
Timing plays a significant role in the success of an asphalt paving project. Asphalt performs best when installed during dry, warm conditions, typically in late spring through early fall. Be sure to schedule your project when weather conditions are favorable to avoid delays or complications caused by rain or extreme temperatures.
In addition to weather, consider how the paving project will impact your daily routine. Depending on the scope of the project, it could take several days or longer. Make alternate parking or access arrangements if your driveway will be temporarily unusable during installation.
4. Prepare the Groundwork
Proper site preparation is critical to the longevity of your asphalt paving project. Clear the area of any obstacles, such as rocks, debris, or overgrown vegetation, to give your contractor a smooth surface to work with. If you’re dealing with a pre-existing driveway, you may need to remove old asphalt or other materials before new paving can begin.
Your contractor will also evaluate the foundation of your project site. A stable, well-compacted base is essential for preventing cracks, sinking, or other damage over time. If necessary, additional grading or drainage solutions may be recommended to ensure a solid foundation for your asphalt.
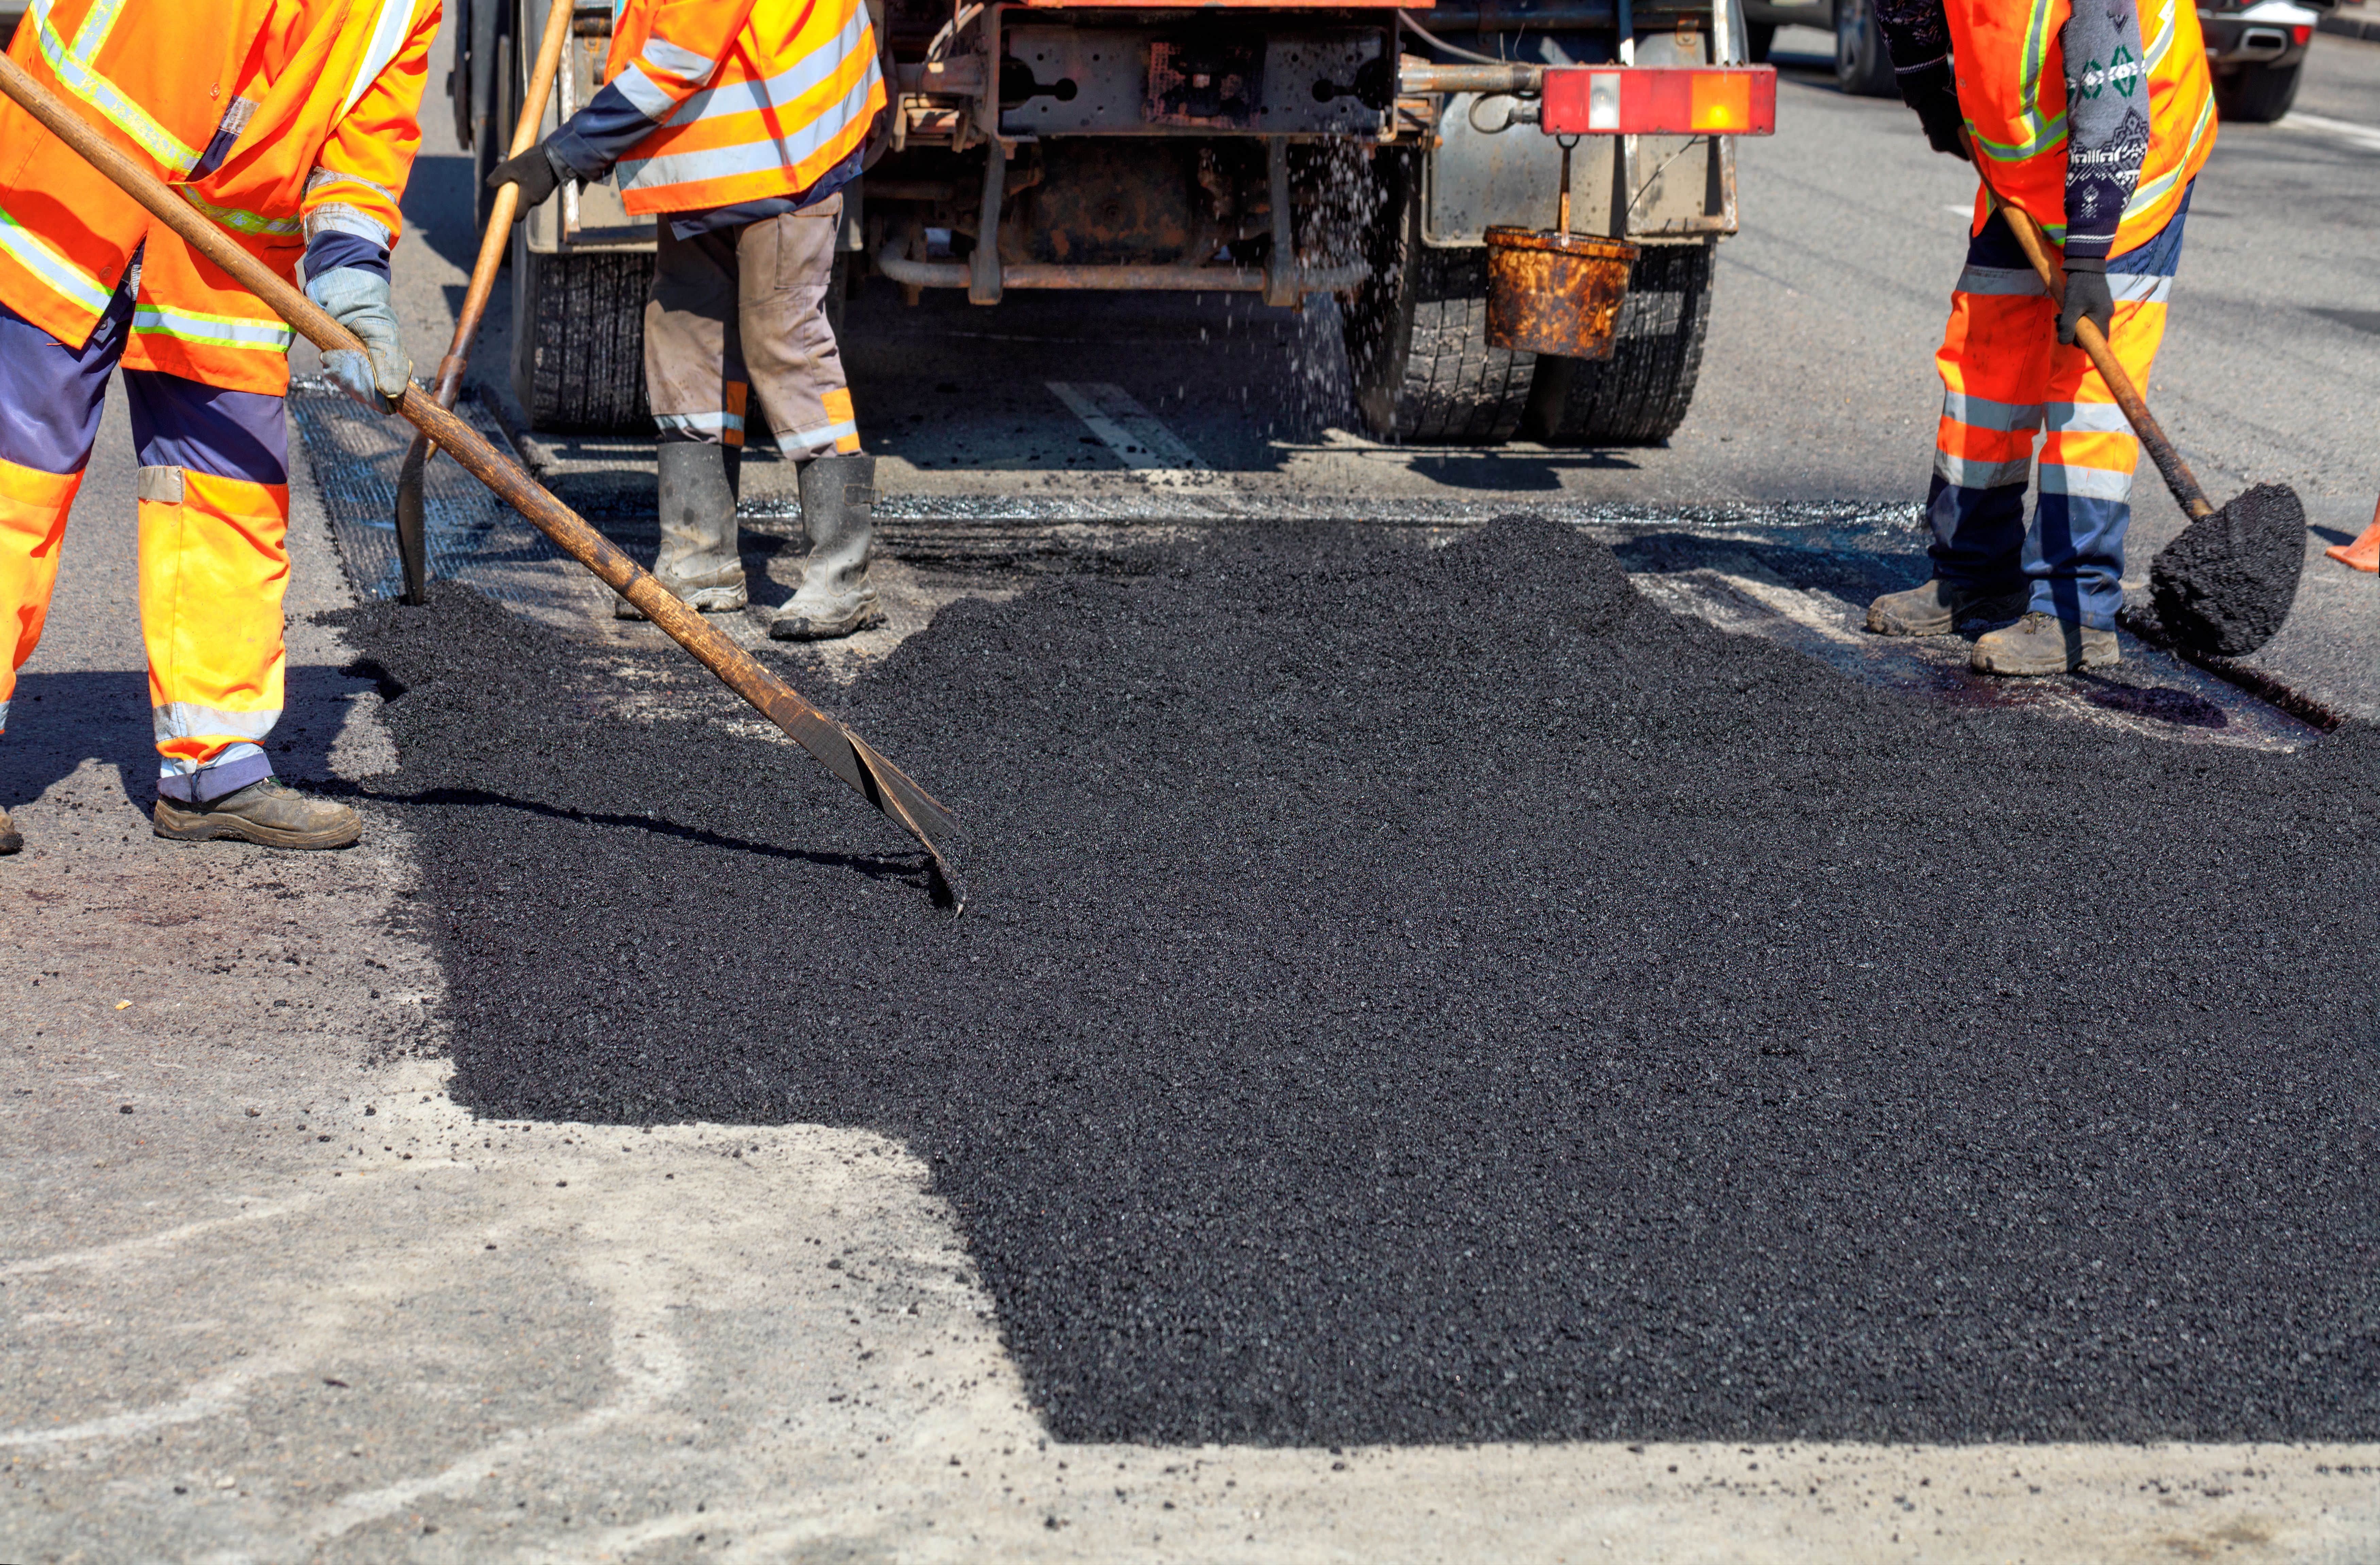
5. Understand the Installation Process
It’s helpful to have a basic understanding of the asphalt installation process so you know what to expect. First, the contractor will install the base, ensuring it’s properly compacted. Then, the hot asphalt mix is poured and spread evenly. Afterward, a roller compacts the asphalt to create a smooth, level surface. Finally, the surface is allowed to cool and set.
Keep in mind that after installation, the asphalt will need time to cure properly. Avoid parking heavy vehicles or placing objects on the new surface for at least 24-48 hours. Follow your contractor’s recommendations for ongoing maintenance to ensure the longevity of your new driveway.
6. Maintain Your Asphalt Surface
Once your asphalt paving project is complete, proper maintenance is key to extending the life of your driveway or walkway. Sealcoating every few years can protect the surface from weather damage, UV rays, and oil stains. Regularly cleaning and addressing small cracks or potholes can also prevent more significant damage and costly repairs.

Asphalt Paving for Exceptional Results
Preparing for your asphalt paving project may seem like a daunting task, but with proper planning and the right contractor, it can be a smooth and rewarding process. Evaluating your needs, choosing an experienced contractor, and timing the project appropriately are essential steps to ensure success. By clearing the site and ensuring a solid foundation, you’ll set the stage for a durable and high-quality asphalt surface.
After installation, remember that ongoing maintenance is crucial to keeping your asphalt in top condition. By taking the time to prepare and care for your new asphalt surface, you can enjoy a long-lasting, beautiful driveway or walkway that enhances the value and appearance of your home for years to come.
Visit our JR Paving Company Inc. blog to learn more about our professional asphalt paving services.